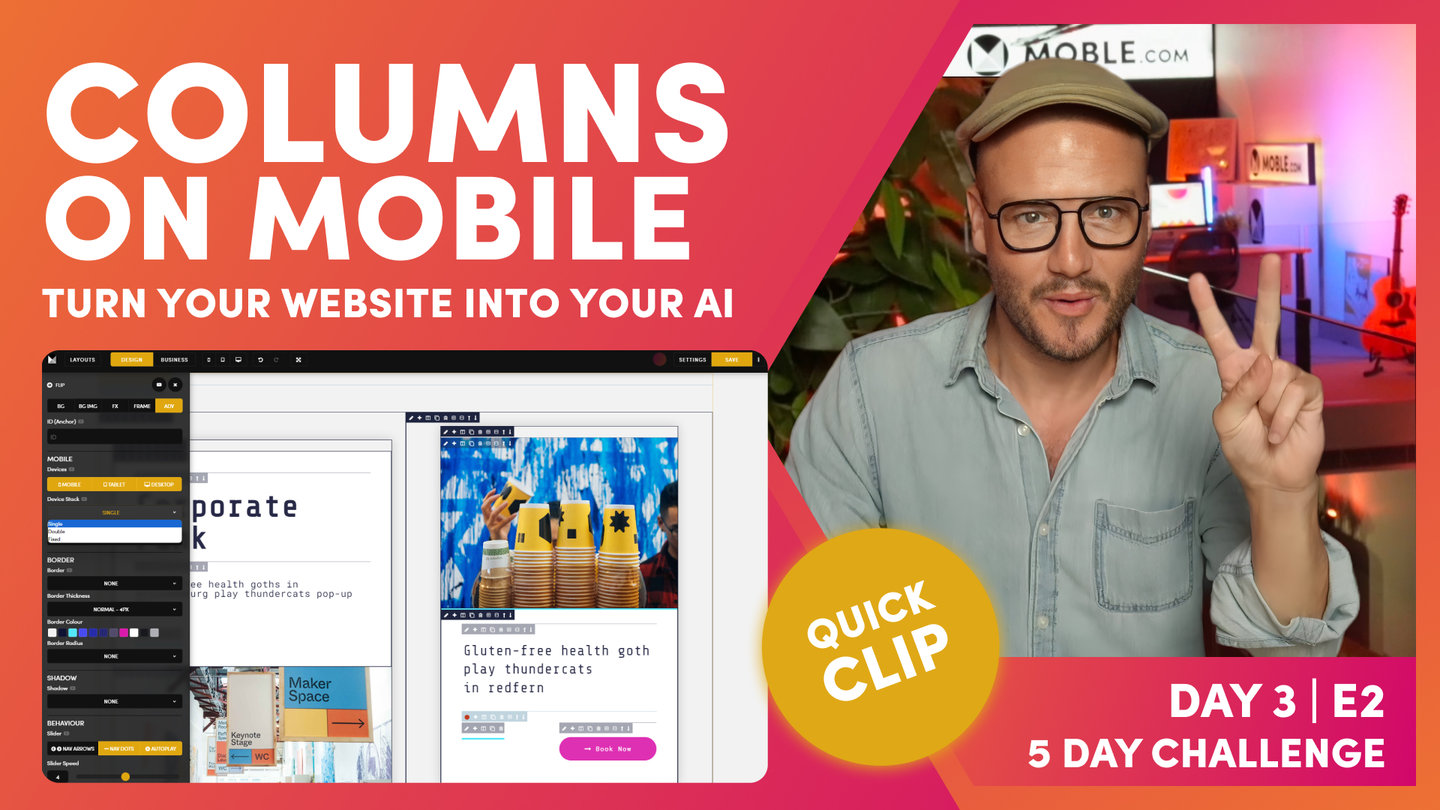
PICK YOUR AI THEME TO GET STARTED

DAY 03 | EPISODE 02 | QUICK CLIP 07
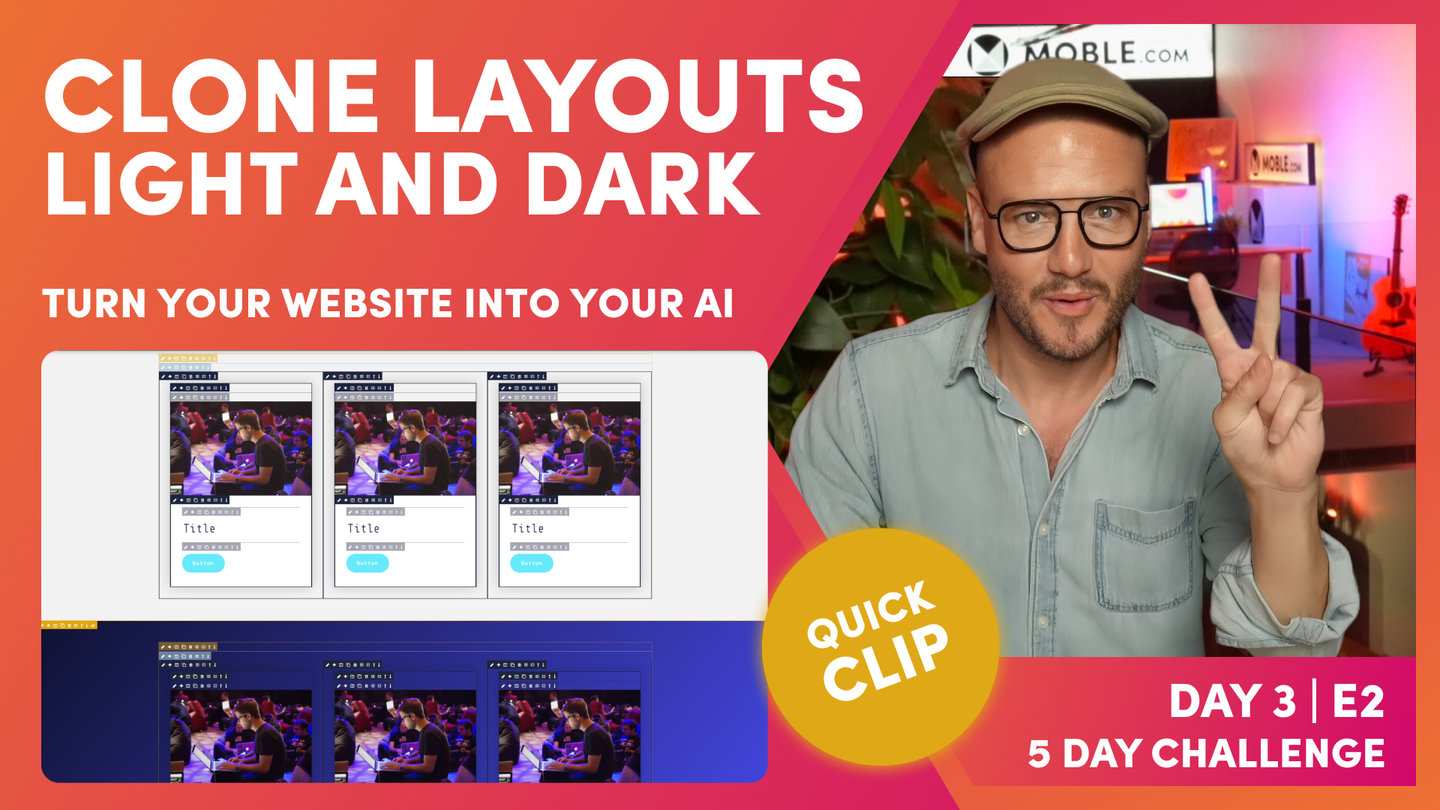
BLOCKS LAYOUTS STRUCTURE

Paul Davenport | 03:39
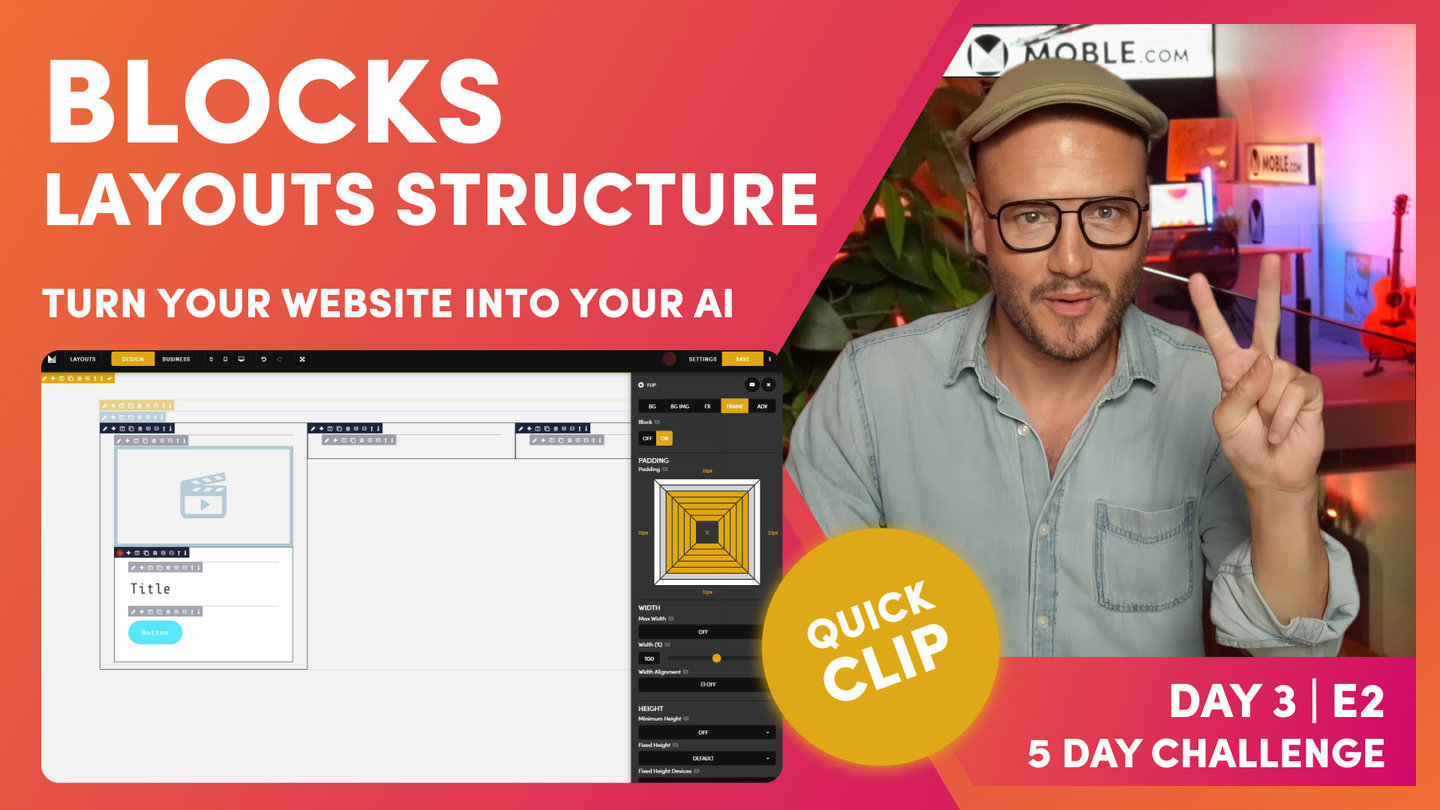
Create Blocks as 'Cards' that live inside your inner padding. Here we explain exactly what to do if you require padding on Cards, meaning a third Block of padding required, which always sits on the inside of the Inner Padding.
"What I would like to do here is give this frame, the outer frame, a background Colour. This, it would be our neutral Colour, and this would be our white. We'll remember from the introduction there, we've got a neutral in the back, and we've got a white card that sits within it, so that shows that white card that's going to pop off the page. So, the outer frame is going to be in our neutral. Cool stuff.
Now, we've got a pretty common-looking setup that is, in terms of a masterclass, if I'm getting my eye in here, as we looked at in the essentials, I've got my outer in the bold that's got the padding in our outer padding. And then, our inner padding is also in the bold, so the two bold where we've put our padding, and then we have our column which is in the sky blue, and then we have our max width, which is also in this faint mustard, and our components in the faint.
If we put into business mode now, when we hover over, we can actually see that when we hover over particular components, then the child lights up in the faint Colour and the parent, where the padding is in bold. So, that's design mode and business mode. Brilliant. Our job, as designers, is we are designing so that our content users can make changes and also future content editors, when they come in the future long after we've gone, will always down track and never mess it up. So, that's what we're trying to achieve here.
Now, let's go and build on this here because we've got our outer and inner padding, but we also have a card and that's got padding in it as well. Let's go and put this white card in. Here, I'm now going to use this plus to wrap a new frame around this one. So, I'm going to wrap this one, and this is where we're going to put our white card. I'm going to click the pencil icon here. I'm not going to put it in neutral. I'm going to go across here and put it in white, so you can see this frame as lit up in white.
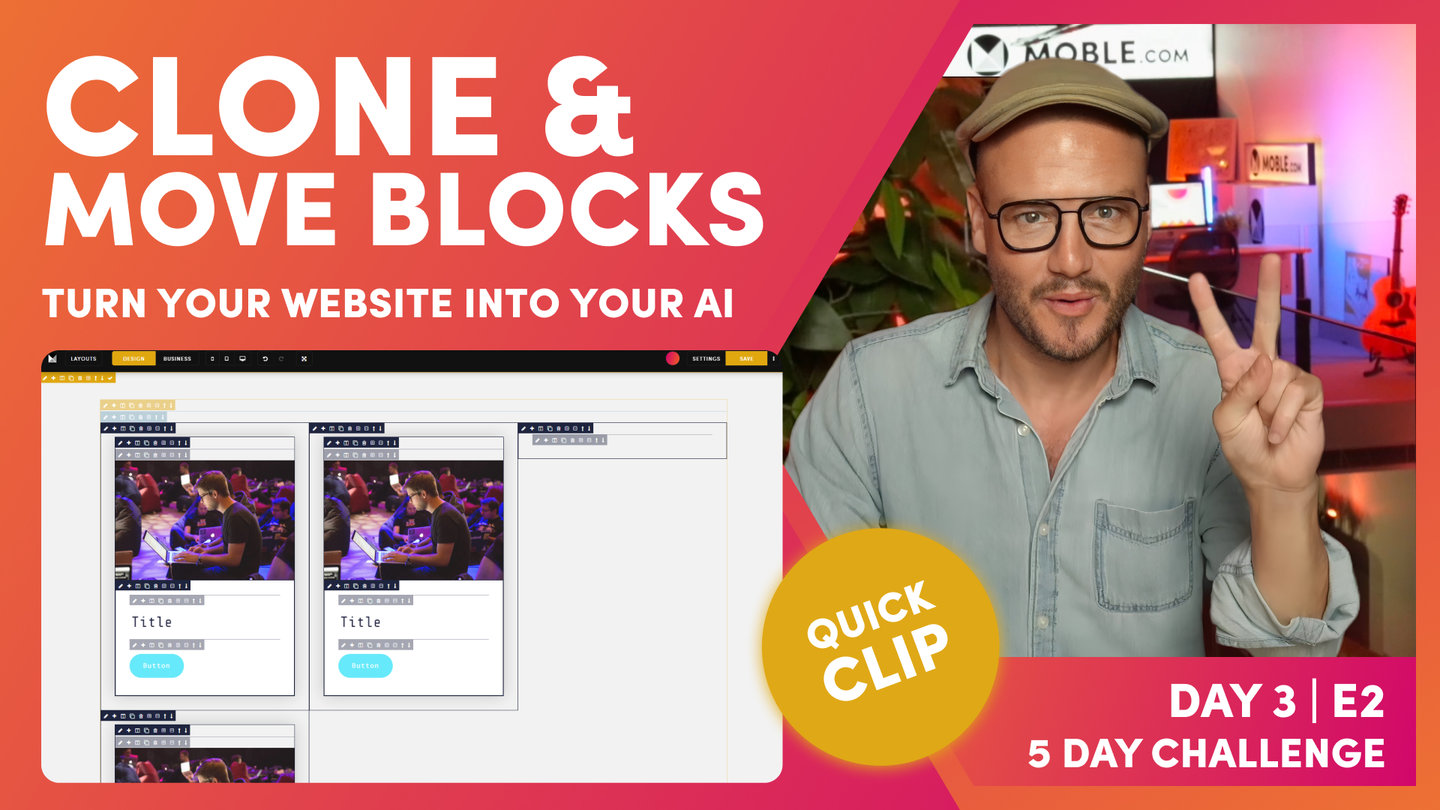
And what I'm going to do on the frame, to help our users, this is going to have padding in, so I'm going to put this in bold as well. I'm going to hold the option or alt key here and just put in 32 padding across. Now, this frame now with the button is actually outside of this one. We want to put it in there, so what I'm going to do is light up. We're going to move this now. We're not going to cut it. We are literally just going to pick it up and move it to a new location.
But if I hold what I want to move, if I highlight what I want to move in our active state with the red dot, okay, so just click the pencil icon, and then I'm going to move it here to the plus. Again, I'm going to hold the shift key, and it's moved it. And now, I can move the up and down arrows to put it into position. Okay? So, look at that. We now have a card. Back into business mode, we're looking quite good there."