PICK YOUR AI THEME TO GET STARTED

DAY 01 | EPISODE 07 | QUICK CLIP 03
UPLOAD & OPTIMISE IMAGES

Paul Davenport | 08:21
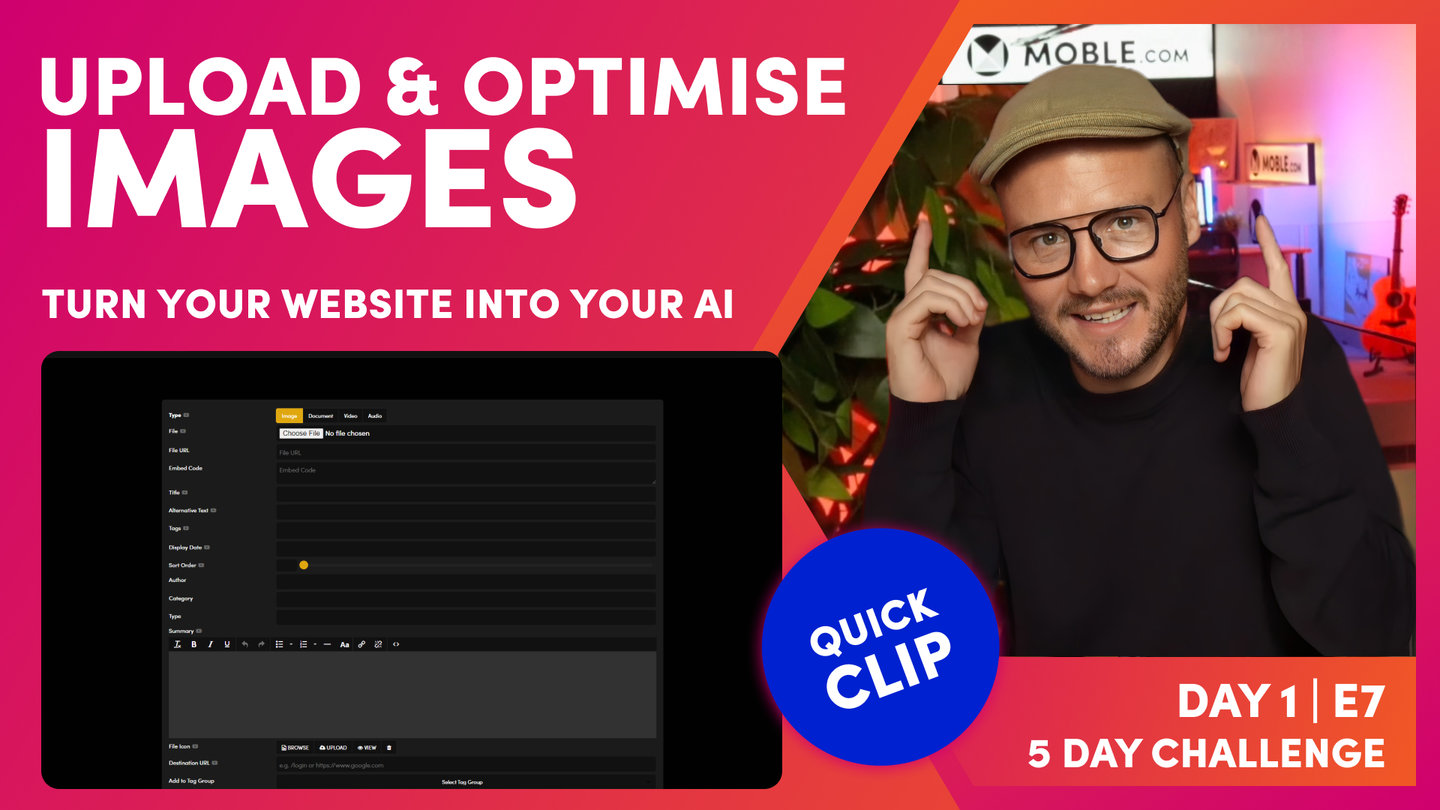
"Now let's upload all of your images. And here you can see we're on my local computer. And what we're going to do is take some images, we're going to upload them and let our AI Website Bots compress them and optimize them in an instant. And you can see here I've got a whole bunch of images that I've been working on for the Inko Theme. And you can see when I name images for Themes, I always call them image-1, image-2. That's because they're being used in the Theme, and that's part of the standard images that all Themes get. But that's not great naming convention. So what I want you to think about is naming your images so that future users can find them when they're editing in the platform. But that also helps your search engine optimization as well if you've got some descriptive keywords in your image names.
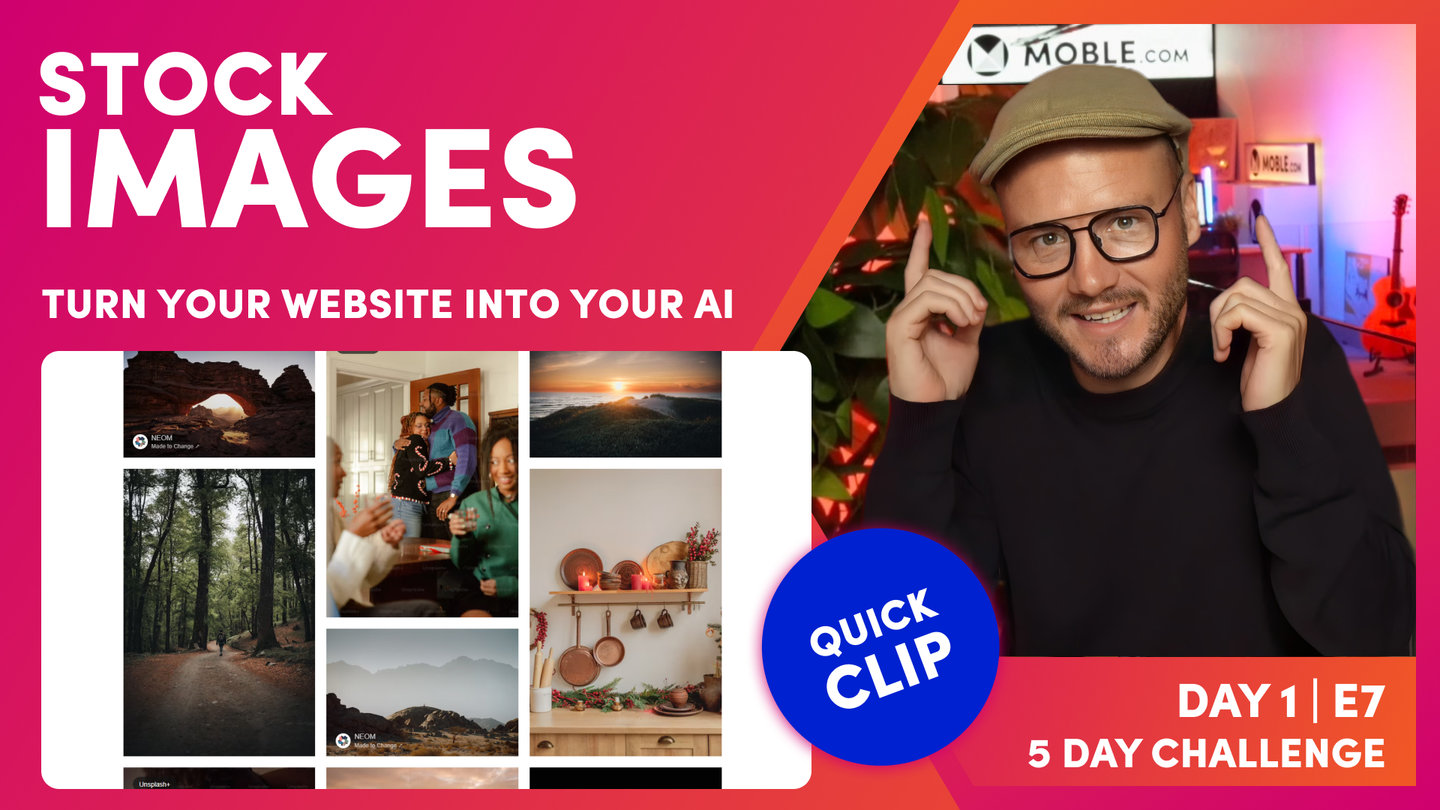
There's two things. One, is changing the names of your images before you upload them. And the other, when we upload them, we'll put them in tags so that people can find them via tags too. You can see here this particular image I've downloaded from a website called Unsplash, which you're going to learn about that at the end of this episode. Well, here you can see it's got the photographer's name, and Unsplash. So it's given that particular credit. Well, on the MOBLE website in each Theme, you can go to the features & FAQ's area and you can see the photo credits, where you can see the names and access all the images for the photographer and get the credits there. So think about giving credits if you are using license free images.
So by giving credits, you don't really have to use the name of the photographer and Unsplash, because that's not going to give you any benefit. In this case, I would go in here and I would change this to... Let's call it image-11 or something like that. But this might be Town-in-sunset or something like that: but no spaces, use hyphens, and then you can capitalize them as you wish. So that's just naming convention, really good practice, and that's best practice. But what we'll do here is just go and look at the size of this image now. So what I'm going to do is click Get info, and you can see that this particular image is over 5 megs. That's a whopping high res image. Well, we don't want to have high res images on a website. Again, from an SEO perspective, you're going to get penalized for that. The search engines don't want huge whopping images on the internet.
So what the MOBLE system is going to do is compress that automatically for you. There's nothing that you need to do. It's going to bring that down below 200 kb and it's not going to lose any quality of the image, which is absolutely fantastic. In the old days, you might have had to go and change each image one by one or use a program like Photoshop or Lightroom, something like that, which is quite expensive. You don't need any extra software, you don't need to pay for any extra software. MOBLE is going to compress those for you when you upload them.
What we're going to do now is upload a zip file. And when you upload images in bulk on MOBLE, we need to call that zip file a very exact name. So what we'll do here, I'll just take these particular images that we are going to upload. I'm just going to highlight these... Or you could literally highlight them all, however you want to do it. You're going to decide which images you're going to upload. I won't upload these. And what I'm going to do now is put all these into a zip file. I'm just going to... On a Mac, you press compress. And so on a PC, you're going to save it as a zip. In here, this is the name and convention. If there's any typos in here, it's not going to work, it's not going to compress them. This is case-sensitive: import_files, all lowercase. So you're going to name your zip file import_files.zip. It's probably the most important thing about this episode because everything else is kind of self-explanatory.
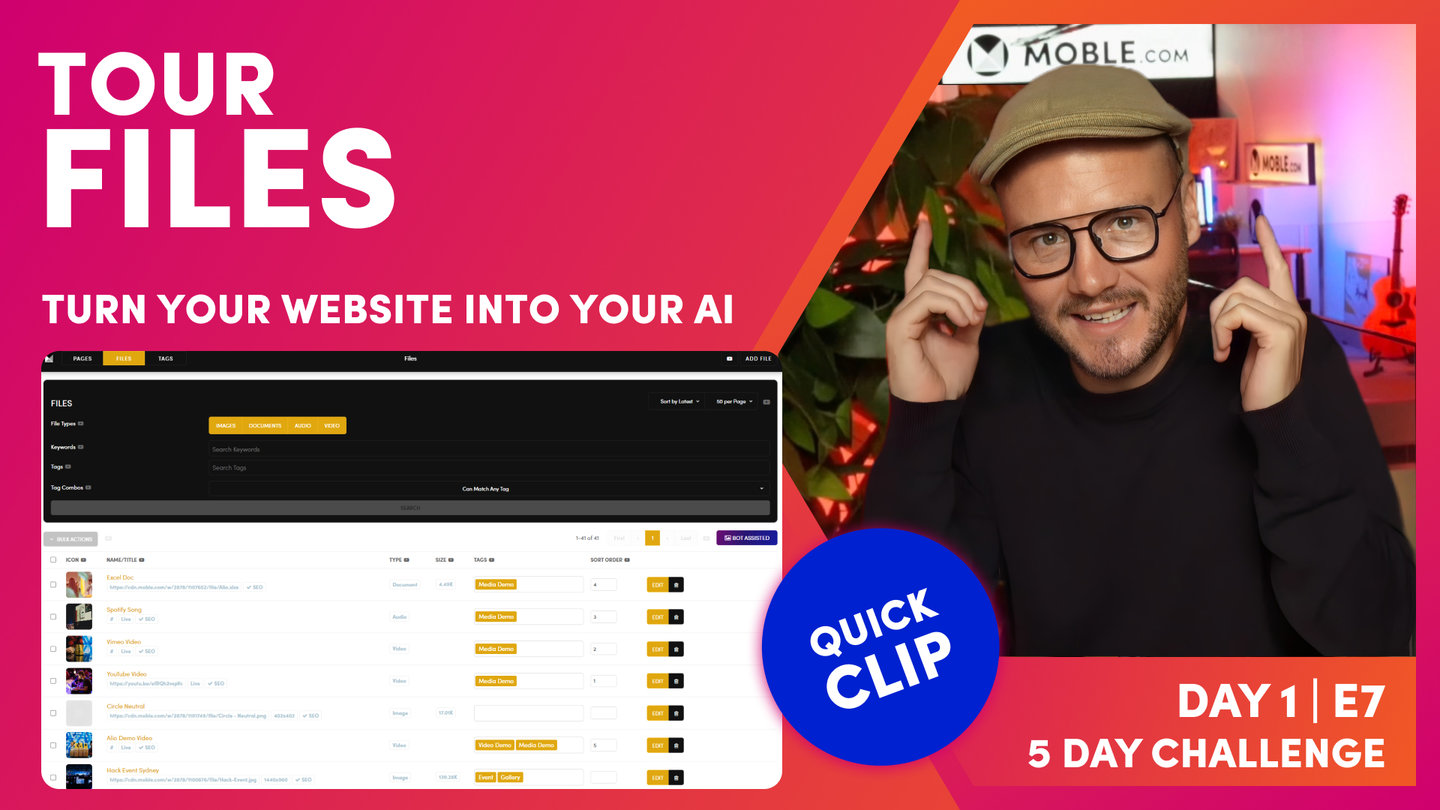
Here we've got our zip folder. Now I'm going to jump back into the Editor, and we're going to upload this and let our AI Website Bots compress it for us. Here I am back in the files area, which as you already know it's via the main menu. And then we go to files. Now in the top right here, we can upload new images. Now we can upload images one by one. You just simply choose an image because we're going to upload an image. Go to your local computer, choose the file, and then give it a title, an alt tag, press save. So we covered that already, but in this case we're going to upload a zip file. I'm going to open up my local computer. So you can see the images here on my local machine. We've got a zip file, which is 58 megabytes, and our image-11, which is over 5,000 pixels wide and 5 megabytes. And all the other images that we've selected are here.
Now I'll choose this zip file. Now with zip files just to know that browsers don't really like your uploading files bigger than a hundred megabytes. So a good tactic when you're uploading files is to put them into different zip files, and then we can tag them when we upload them. And that will automatically tag them, so we really only have to tag once. I'll just show you what I mean by this. I'm going to select this file, and then I'm going to leave out the title and alt text because we're uploading many images. And then on the tag here, I'm just going to tag this one, I'll call it Inko Images just for now. You can change tags later. At this point, I'm going to press save.
Now while that's uploading, allow about a minute for this page to upload. And what that's going to do then is progressively upload and compress all of those images systematically into your files area. You can leave your files area, go and do other things and come back in about five minutes, and you'll see that your images are uploaded. But if you are impatient, you can just hard refresh and just see them all uploading one at a time. That's the top tip there for uploading zip files. Well, let's have a look at our 5 megabyte image-11. You can see here it's been uploaded. Let's click on the thumbnail. It's looking pretty good. No signs of any pixelation there. Quite crisp. And look at this, it's 192 kb. That's a huge compression and optimised for the search engines. But let's put it to the test. Let's go and have a look at this in the Editor. I'll slide over to the Editor, and you can see here one of the images from our Charlie bank of images, which is looking great, really crisp.
But let's go and swap it for one of the ones that we've just uploaded. So we'll go to browse. And here in the search, I can actually search by the tag. We tagged it, I think, Inko images. So what I'll do is just start typing in here: Ink, Inko, and it filters down as we type. Very nice, easy way to search. And I'll look at image-11 here; let's click that. And you can see this image was a huge portrait, but what I've got it here is fixed in the background. We've got this cool effect that as we scroll over. So even that's a really long image, 1440px wide, we can still see that's performing brilliantly for our page. That is the power of compression, and that's the power of using our AI Website Bots to do it for you. We can just take a folder of images, tag them, upload them all in one hit, and have them compressed and optimised in moments."