PICK YOUR AI THEME TO GET STARTED

DAY 01 | EPISODE 07 | QUICK CLIP 02
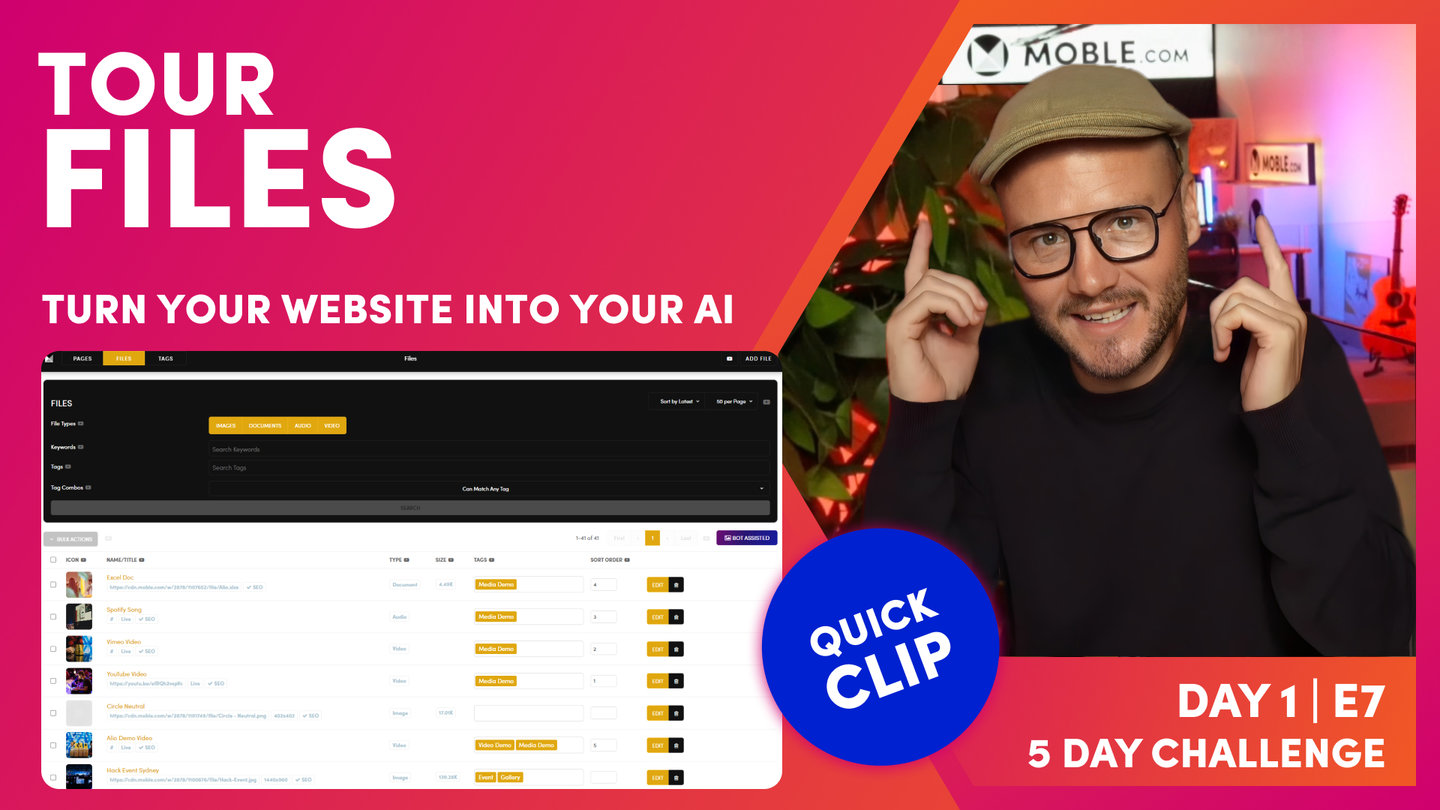
FILES AREA TOUR

Paul Davenport | 06:13
"Here I am in the files area, and as you can see, I can access this via the main menu and files. And you can see the images that we've uploaded in the Logos episode are at the top of our list. And here are the images that came with our Theme in the onboarding. But we've got a whole bunch of other images in here as well, which we might not need. These are the images that came with the Nanshee Theme. If I just click these now, first off, I'm going to decide if I'm going to delete them. Well, all of these other images, these product images that you'll see there, leave them in for now because you might need those for your e-commerce episode. So just leave them in there now and we'll remove those on day four. But I would be quite tempted to clean these up.
The first thing is we can click the tick icon here and we can go to Bulk Actions and hit delete. And then when we delete, it's going to make sure that we do want to delete. So we hit the Delete Items in the top, and then absolutely, yes we do. So now there's going to go and clean up all those images that we don't want.
Next, I'll give you a quick tour of this files list. Okay, so we can actually search for images, files or documents in here. We can search by keyword or by tag and just hit search. And you can put your images into sort order. So often you might want to search via tag. "Show me all the images that are tagged with Melbourne Cup," let's say. Okay, so what we will do now is just look at what we've got going on here. Well, we can click on the icon and that will show us the image. It will pop up. We can actually click on the link and that will show us the image in a new tab, and then we can copy the URL there. We can also copy the URL to a clipboard by pressing the blue link.
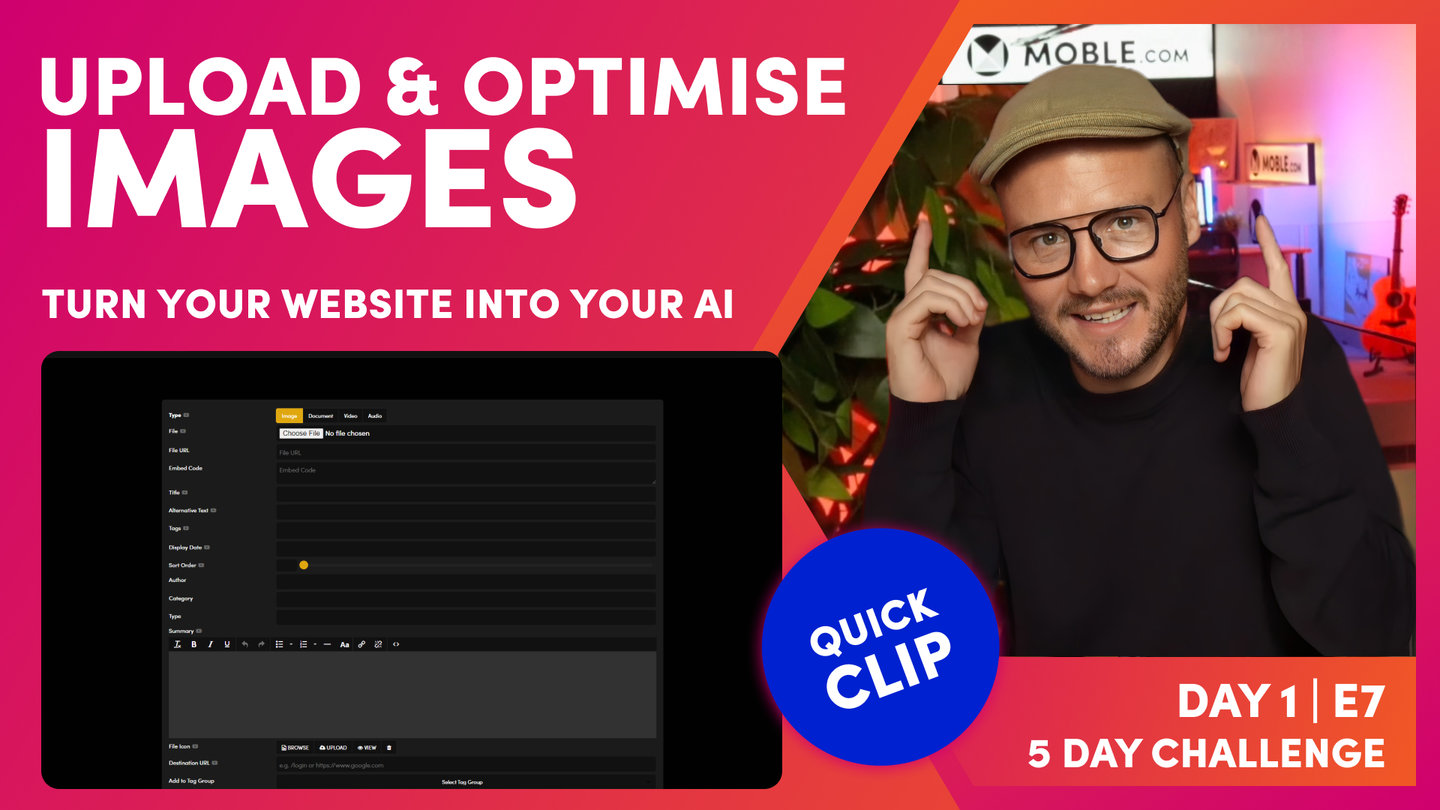
Now we can see here the dimensions. This is our fav icon that we just uploaded before. It's 600 by 600 pixels. That's very good reference to see there. But we can see this has got an SEO cross tag. Well, what's that mean? Well, let's go into edit. So this is the settings area for this image, what we also refer to as the meta information. And you can see here it's showing me that this is an image. It could also be a document, a video or audio, but I can actually upload a new image to replace this one here. Now if I tick yes on here, everywhere that this image exists on the entire website, it will replace it. You don't have to have the images of the same name. You can just simply press yes and it'll go and find and replace that image with a new one that you upload.
Really cool feature, and we'll be looking at that later on in this episode. But for now, I just want to drawer your attention to the title and alt text. I'm going to give this a new title because this one doesn't look very nice. If this was going to feed into a photo gallery and you opted to also show the title in that photo gallery, we wouldn't want it to be saying this PNG. So we'll give it a title, and we can also give it an alt text. Now the alt text is for SEO. Well, SEOs often refer to it as alt tag, which you may have heard is actually called alternative text. Now this came from... It was really useful for people who are visually impaired. When they have a reader, this would actually tell them what the image is about. So you can actually be quite descriptive in there. And of course, search engines realise that could help with the description about their image too. So that's why it's important for SEO.
So that's all you need to do at this stage is any images that you want in galleries, you might want to go and change the name. And that's why I'm going to encourage you to change the name before you upload the image as well. Once you've done that, you can press save. I'll just drawer your attention to the other things that are on this page.
Well, these are often to do with the widgets. So let's say this image was going in a photo gallery, or let's say it was a thumbnail for something else, and it was feeding into a widget. In this case, we'll describe it as a photo gallery where this photo gallery, you do want to have a title and a description about the image. Well, you could also give it a date. You could also put it in a sort order of which it appears, maybe the photographer and what we call author. And you could put it into categories. But summary is the one that you might often use if you decide your photo gallery wants a description of the image, this is where you'll put it. Like I say, this information isn't often used for your images, but interestingly, you can have a different icon as well. This can be useful when you upload a video. The video might want a thumbnail, so this would be where we use a file like...
More on this later. But I will just drawer your attention to the destination URL. Sometimes in your image gallery you might want to have a link that goes somewhere else, maybe to an internal page within your website. So you can see here, if you want it to go to a login page in this example, /login or /about-us. Someone's going to click on the image, it's going to go to the About us page. Or if you want to it to go to a new website, you can put in that destination URL here. Always remember you need the https-//, and that will link to a new website, which is a pretty cool feature, but it's an edge case. In fact, all of this is edge case stuff. All I want you to do now is maybe consider changing your title and alt text, which is very good common practice, and then press save. And what you'll see is when we press save, is that now our red cross has turned to a blue tick showing us it's now been optimised for SEO."